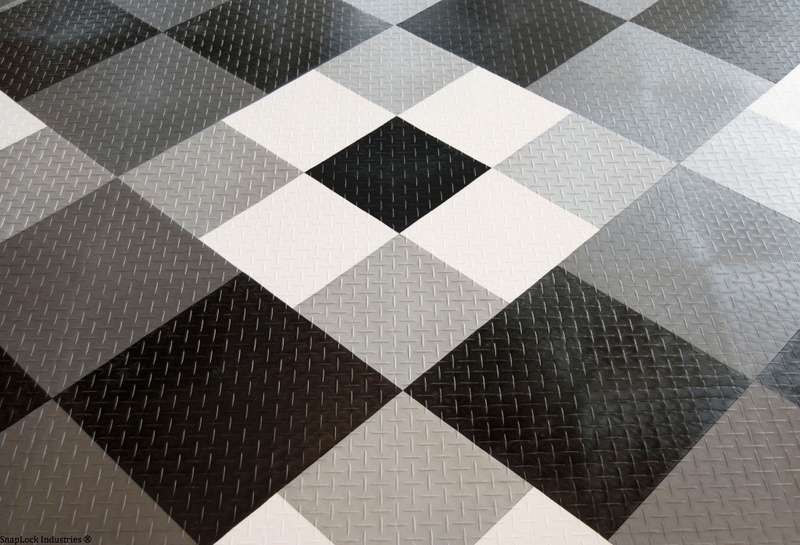
Wet weather brings a host of problems to the family home. Slipping and sliding don't just happen out on the roads -- sidewalks, driveways, and especially garage floors can become hazardous. A wet garage floor may not be as noticeable when a car is brought in from the outdoors but as it sits, snow, ice, and water will begin to drip and collect in puddles. Luckily, there are several simple solutions that can make the garage safer in an afternoon.

Part 1
Method 1 - Get Cleaning
The garage floor gets very little attention when cleaning time comes around, but just like any room in the house, dirty floors are a hazard. Clean out any walking space by removing clutter and trip hazards such as electrical cords.
Next, grab a broom and dust pan and start sweeping. Garages collect fine grit dirt and sand all on their own, but if the room pulls double-duty as a shop, the metal grit, sawdust, and wood shavings make a slippery concoction when combined with a smooth concrete floor.
Method 2 - Consider Laying Down Rugs
There are a variety of rugs and mats that can be bought inexpensively and laid down as a temporary solution. Even left-over carpet from a recent home renovation will do the job. Although, anything laid on the floor will require a rubberized backing -- otherwise it is just another hazard. Also, consider that water-absorbent materials will eventually begin to mildew.
Rubber drainage mats are a good choice, albeit a more costly one. Drainage mats used in industrial kitchens are designed to handle extreme wear and tear. They will hold up the best in a semi-exposed environment like a garage.
Method 3 - Add Friction With Tape
The technical term for a slippery floor is a floor with an inappropriate friction ratio -- essentially zero. The ration can be increased with friction tape. This is a tape that has grit particle bonded to its surface. Simply measure, cut to size, and stick it to the floor.
Before you apply the tape, make sure the floor is clean by using an industrial cleaner to remove all soap and wax residue so the epoxy has a good grip to the concrete. Also, most pressure tape of this kind needs to be applied to surfaces that are 65 degrees or warmer. Check the manufactur instructions for specific application details. Tapes will also require a coat of concrete primer. Once the tape is laid down, bubbles can be removed be working a rubber roller from the center outward. Check the corners to ensure they are secure as well.
For extra durability, try using a 700 series tape. Once the slippery areas are covered, the rest can be used on stairs and sidewalks as well. A word of caution about tape: it tends to lead to overconfidence in an individual's step. This means the transition from a taped area to an untapped area will be much more dangerous. Slips often happen in this zone, so it is best to cover the whole floor rather than just a portion of it.
Method 4 - Add Grit With...Grit
The best all-over option is to paint it with a gritty mixture. There are a variety of ways to do this. To start, adding texture can be done at any phase of a concrete installation. When the flooring is poured, it can be textured with a broom before being allowed to dry. If this was not done, tackle the project the next time the floor needs a coat of sealant.
Sealant manufactures often sell a matching grit that can be added for texture. Silica based additions are the least expensive, but reportedly will not last as long. However, there is some debate about this in the concrete flooring industry. Also, sand will be visible, potentially ruining any decorative flooring effects.
Alternatively, plastic grit is a light smooth bead that is virtually invisible, staying suspended in the layers of sealant. It's perfect for covering decorative concrete. As the sealant wears, new beads are exposed so the texturing effect lasts longer.
Each brand is a little different, so be sure to follow the mixing directions carefully. Some can be done at the hardware store using their paint mixer, while others will have to be done in small batches at home.
Check to see if a coat of primer needs to be laid down first. In addition, if the floor was previously painted or stained before, as much of the old layer as possible needs to be removed before the new can be laid down. Generally, these treatments are laid down with a roller, but a paint sprayer with a nozzle designed to handle grit will also work.

View All Comments /Add Comment